In one of my react application I have implemented videojs for playing videos. We can do same task using video html5 tag. But Videojs provides a lot of controls like youtube that we can perform pragmatically on it.In this post and in upcoming few posts I will share some of the scenarios that I have implemented during my project.
In this post I am sharing simple implementation of videojs in my React application. For that purpose we will go step by step for adding videojs in our application.
For that purpose we have to at first setup our React application that we have already done.
So, Now we will install and import videojs package in our application.So, for installing videojs we can use npm command or simply yarn command. here we are using npm command for installing videojs package.
Step 1: Installing videojs package
// Installing package
npm i video.js@7.0.3
Step 2: Create a separate class for implementing videojs in our application
Now, we will create a class for implementing Videojs demo. So for that purpose we will add a separate .js file that we will call VideojsImplementation.js in our application inside components folder. Above I have already shared project structure screen shot.
import React, { Component } from 'react';

class VideojsImplementation extends Component {
    constructor(props) {
        super(props);

    }

    componentWillMount() {

    }

    componentDidMount() {

    }

    render() {
        return (
      <div>

       </div>
        );
    }
}


export default VideojsImplementation;
Step 3: Importing videojs in your class
import videojs from 'video.js';
Step 4: Now we will assign value of video url inside state
 constructor(props) {
        super(props);
        this.state = {
            liveUrl: 'https://vjs.zencdn.net/v/oceans.mp4'
        }

    }
Step 5: Then we will define a function for start video stream as shown below
startVideoStream = (liveUrl) => {
        let videoState = {
            autoplay: 'muted',
            preload: 'auto',
            loop: true
        }
        let player = videojs('my-video-show', videoState, () => {
            player.src([{
                type: "video/mp4",
                src: liveUrl
            }])

        })

    }
Step 6: Now we will define video tag inside JSX code after assigning id (same id that we have used in startVideoStream function) for it.
return (
<div>
<div className="title">
<h3>Showing Video</h3>
</div>
<div id="vidoShow">
<video className="video-js vjs-16-9 vjs-default-skin" id="my-video-show" />
</div>
</div>
);
Step 7: Now for starting video we will call at time of loading page inside componetDidMount
   componentDidMount() {
        this.startVideoStream(this.state.liveUrl);

    }
Now we are ready to play a video in our application using videojs package for this we will call VideojsImplementation component in App.js file as shown below
import React from "react";
import './App.css';
import VideojsImplementation from './components/VideojsImplementation';
function App() {
  return (

<divclassName="App">
<VideojsImplementation/>
</div>

);
}

export default App;
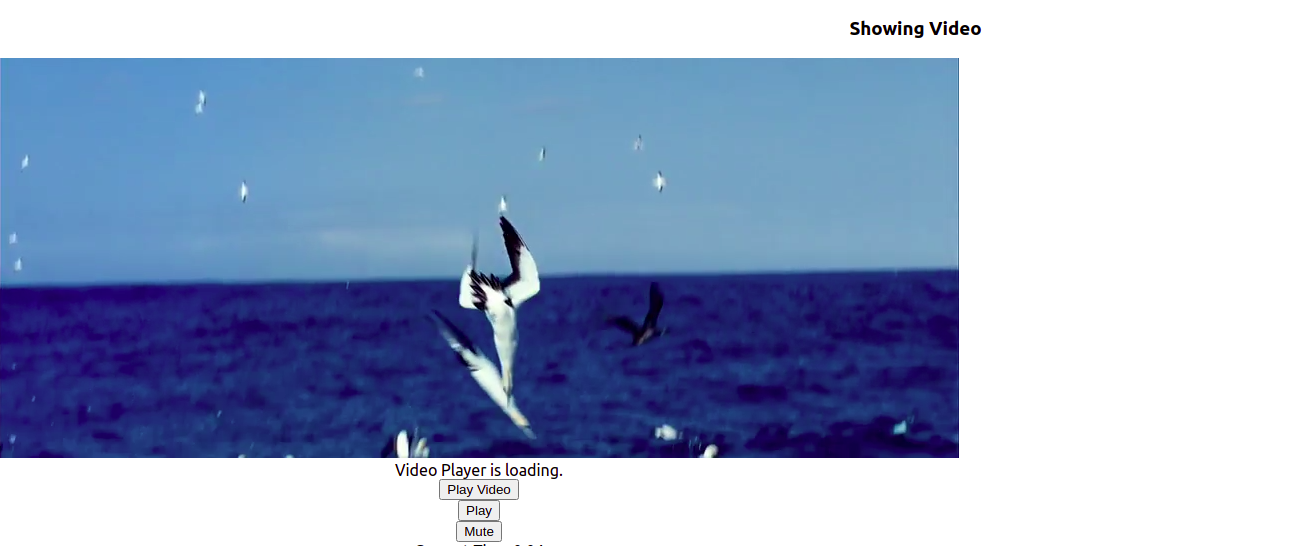
Now we will load our page and our video will be started playing
Hence our complete code will be look like this
import React, { Component } from 'react';
import videojs from 'video.js';
class VideojsImplementation extends Component {
    constructor(props) {
        super(props);
        this.state = {
            liveUrl: 'https://vjs.zencdn.net/v/oceans.mp4'
        }

    }
    componentDidMount() {
        this.startVideoStream(this.state.liveUrl);

    }

    startVideoStream = (liveUrl) => {
        let videoState = {
            autoplay: 'muted',
            preload: 'auto',
            loop: true
        }
        let player = videojs('my-video-show', videoState, () => {
            player.src([{
                type: "video/mp4",
                src: liveUrl
            }])

        })

    }

    render() {
        return (
<div>
<div className="title">
<h3>Showing Video</h3>
</div>
<div id="vidoShow">
<video className="video-js vjs-16-9 vjs-default-skin" id="my-video-show" />
</div>
</div>
);
    }
}


export default VideojsImplementation;