Create Counter application in React

In this post we will develop a simple React application. As I have told that in upcoming post we will implement Redux in React application that we will do in our next post.

So in this post we will develop a simple React application that shows counter value (increment or decrement) after button click.

The aim of developing this application is to understand the importance of Redux in
React application.

Here I am showing the screenshot of target application then after we will go through step by step for developing our application.

Screenshot 

So, Now will follow these steps for developing our counter application.

Step 1: Create a React app named counter_app

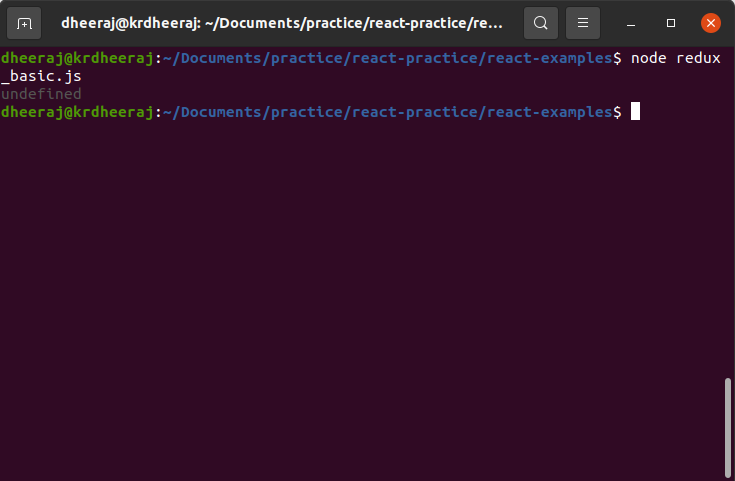
For that we will execute command


// install package
npm install -g create-react-app

// then after execute

create-react-app counter_app

// couter_app is our application name

Step 2: Run counter_app

After executing above command our application will be created. then after for running counter_app we will execute this command as shown below in project folder.


//Run your application
yarn start

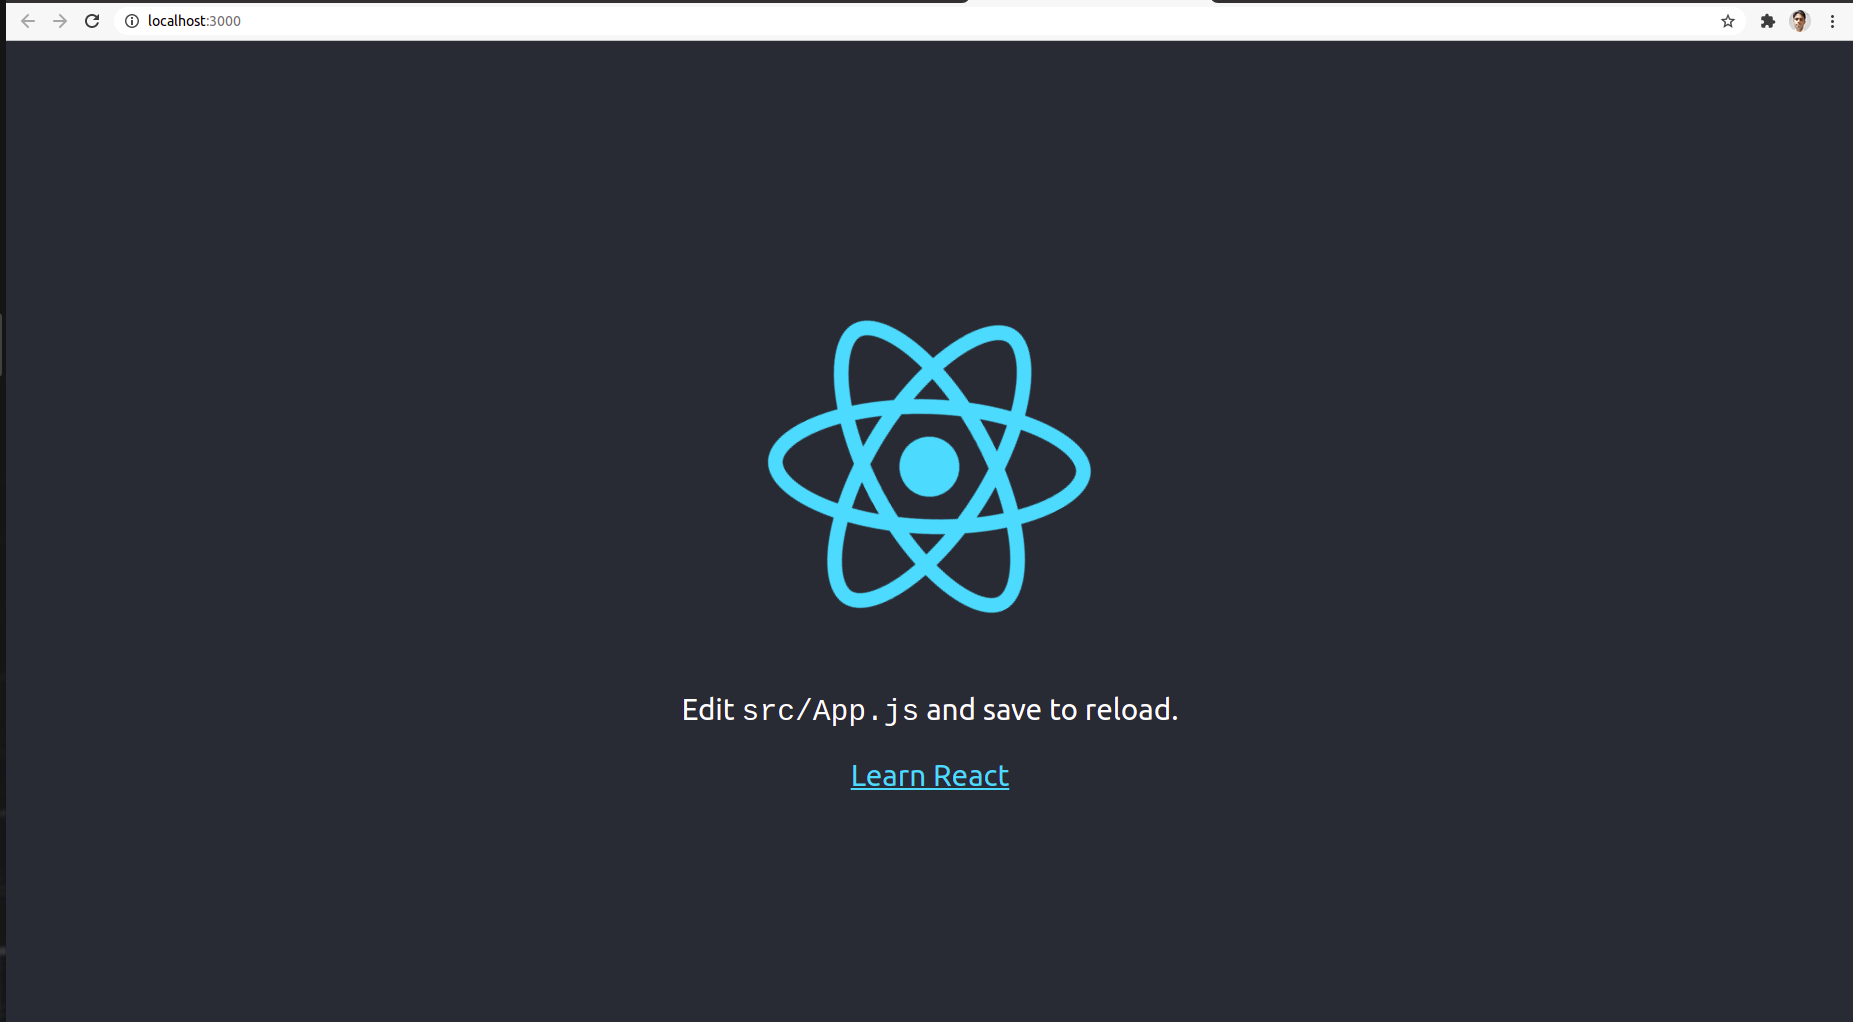
Now in browser our application will be look like

Step 3: After that we will remove all unnecessary code from our application.

Before removing code we will folder structure of our application

folder structure

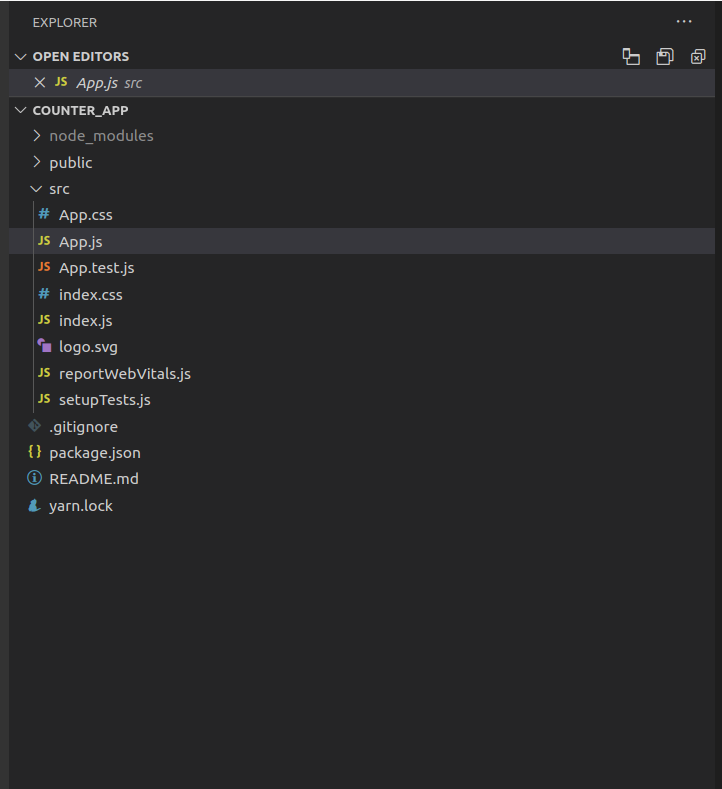
In React application complete application is handled by app.js file. Currently app.js file contains these lines of code.


import logo from './logo.svg'; 
import './App.css'; 
function App() { 
    return ( 
      <div className="App"> 
         <header className="App-header"> 
           <img src={logo} className="App-logo" alt="logo" /> 
             <p> Edit <code>src/App.js</code> and save to reload. 
            </p> 
              <a className="App-link" href="https://reactjs.org" target="_blank" rel="noopener noreferrer" > Learn React 
           </a>
        </header> 
    </div> ); 
} 
export default App;

And after removing unnecessary lines of code our code will be look like


import logo from './logo.svg';
import './App.css';

function App() {
  return (
   <div className="App"> </div>
  );
}

export default App;

Step 4: Create a counter component in our application

Now for completing our functionality we have to add a component in our application. And we will add our component in a separate folder in our application

So at first we will add a components (contains all components) folder in our application.

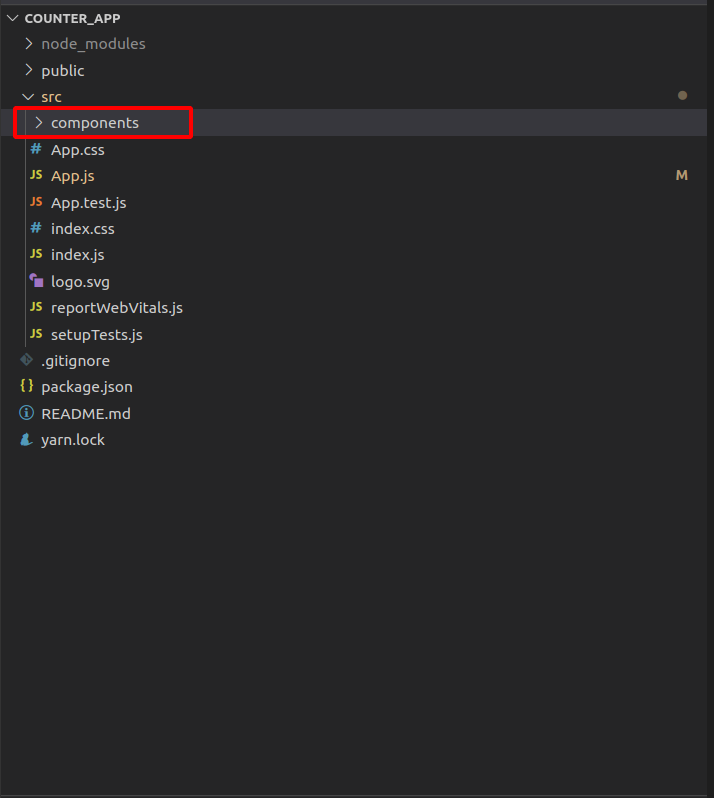
Now we will create two components for our application one for handling control and second one for displaying output. we will store both components in two different folders as shown below.

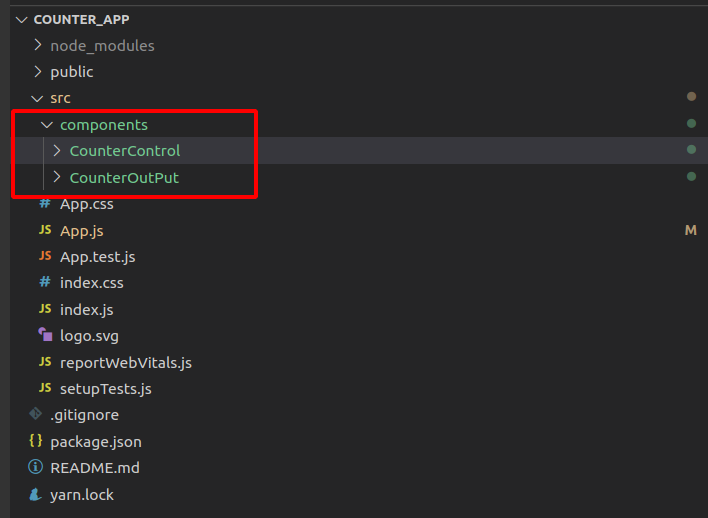
In CounterControl folder we will write component for controlling our application, CounterControl folder which contains CounterControl.js file. For our design we will write css in CounterControl.css file.

Similarly CounterOutput folder contains component for showing counter outPut

It also contains js file CounterOutPut.js and for css file CounterOutPut.css.

CounterControl.js


import React, { Component } from 'react';
import './CounterControl.css';

class CounterControl extends Component {
    constructor(props) {
        super(props);

    }
    componentDidMount() {

    }

    render() {
        return (
            <div className="CounterControl" onClick={this.props.clicked}> {this.props.label} </div>
        );
    }
}


export default CounterControl;


CounterControl.css


.CounterControl {
    width: 150px;
    padding: 20px;
    box-sizing: border-box;
    margin: 16px;
    border: 1px solid #eee;
    box-shadow: 0 2px 2px #ccc;
    font-weight: bold;
    text-align: center;
    cursor: pointer;
    display: inline-block;
}

.CounterControl:hover,
.CounterControl:active {
    background-color: #eee;
}

CounterOutPut.js


import React, { Component } from 'react';
import './CounterOutput.css';

class CounterOutput extends Component {
    constructor(props) {
        super(props);

    }
    componentDidMount() {

    }
    render() {
        return (
          <div>
              <div className="CounterOutput"> Current   Counter: {this.props.value} </div> 
             </div>

        );
    }
}

export default CounterOutput;

CounterOutPut.css


.CounterOutput {
    width: 100%;
    background-color: #fa923f;
    color: white;
    font-size: 1.8rem;
    text-align: center;
    padding: 20px 0;
    box-sizing: border-box;
}

For implementing logics of our application we will write our code in container folder which contains Counter.js
Counter.js


import React, { Component } from 'react';

import CounterControl from '../components/CounterControl/CounterControl';
import CounterOutput from '../components/CounterOutput/CounterOutput';

class Counter extends Component {
    state = {
        counter: 0
    }

    counterChangedHandler = ( action, value ) => {
        switch ( action ) {
            case 'inc':
                this.setState( ( prevState ) => { return { counter: prevState.counter + 1 } } )
                break;
            case 'dec':
                this.setState( ( prevState ) => { return { counter: prevState.counter - 1 } } )
                break;
            case 'add':
                this.setState( ( prevState ) => { return { counter: prevState.counter + value } } )
                break;
            case 'sub':
                this.setState( ( prevState ) => { return { counter: prevState.counter - value } } )
                break;
        }
    }

    render () {
        return ( 
            <div>
                
                 this.counterChangedHandler( 'inc' )} />
                 this.counterChangedHandler( 'dec' )}  />
                 this.counterChangedHandler( 'add', 5 )}  />
                 this.counterChangedHandler( 'sub', 5 )}  />
            </div>
        );
    }
}

export default Counter;
          

For implementation of these components we will made changes in out App.js file
App.js


import Counter from './containers/Counter';
import './App.css';

function App() {
  return (

   /**
     * Adding componenet for logic implementation
     */

  <div className="App"> <Counter /> </div>
  );
}

export default App;

After that our applcation will be looks like this as shown blow.

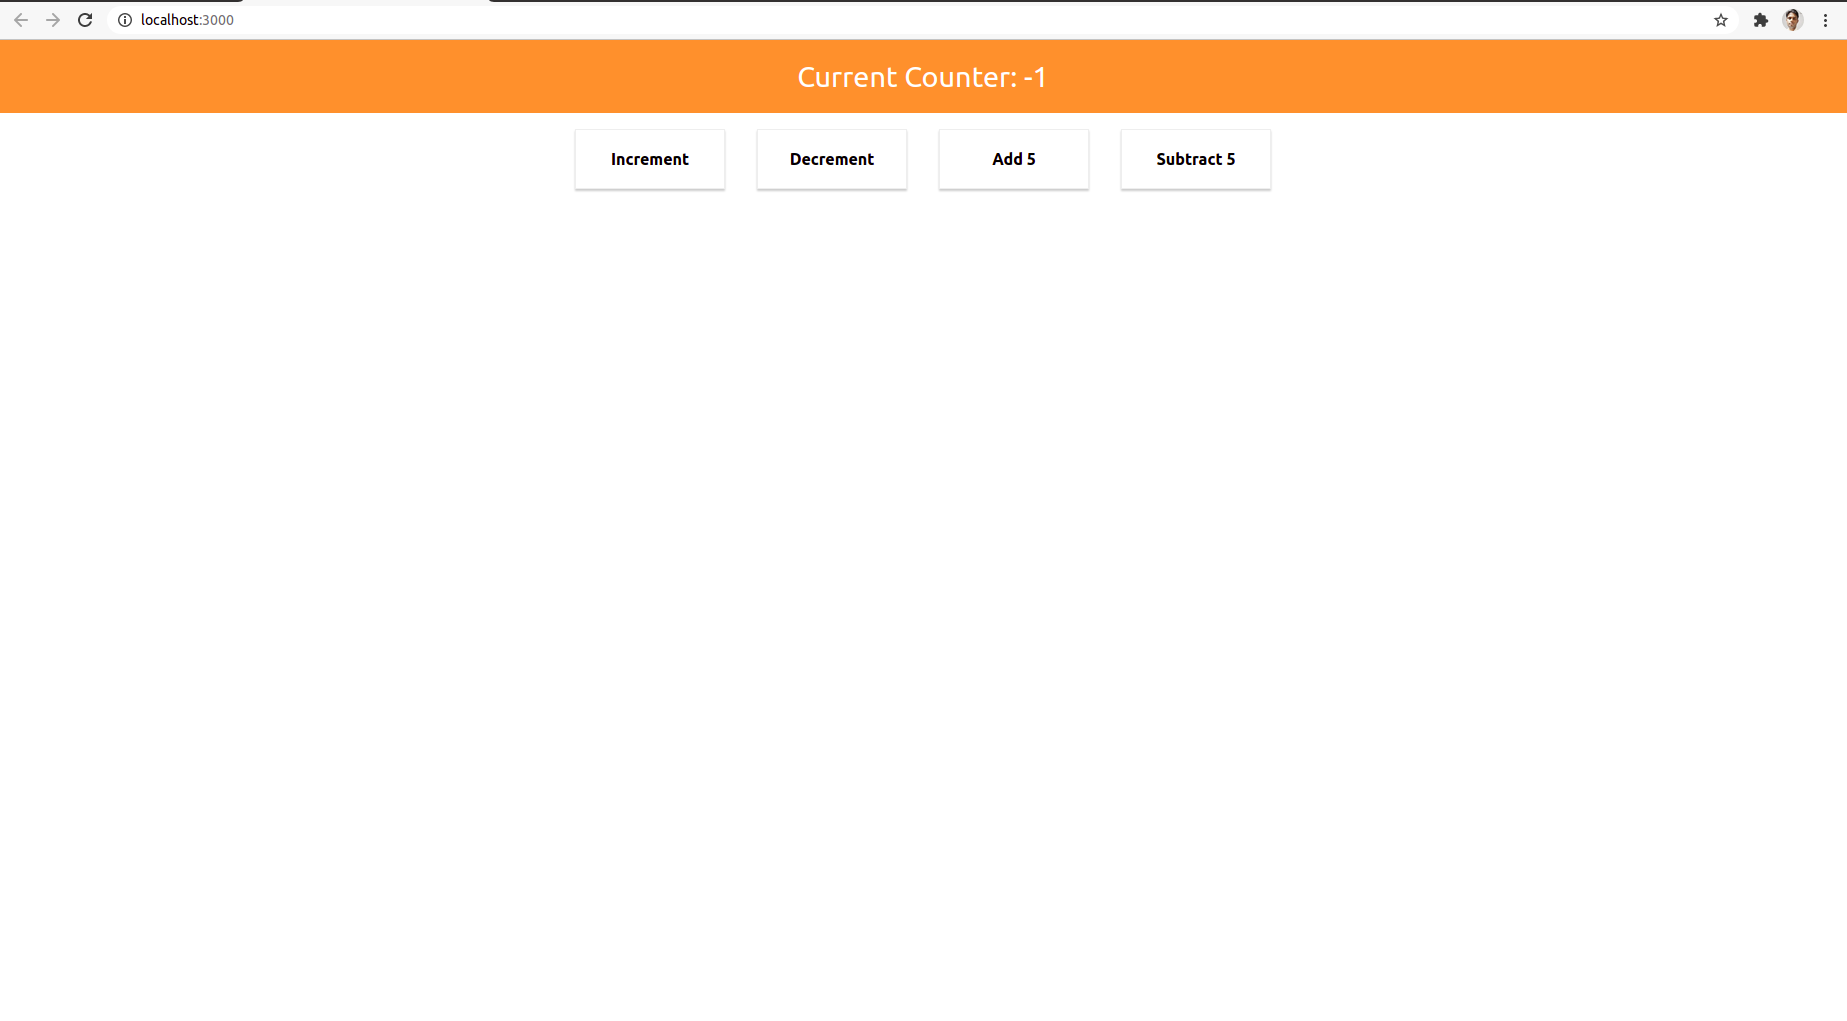
After clicking on Increment Button it will increase value +1
After clicking on Decrement Button it will decrease value -1
After clicking on Add 5 it will increase value + 5
After clicking on Subtract 5 it will decrease value – 5

Introduction to Redux

In this post we will discuss about Redux and build a simple script for explaining Redux concept. Here, we are not implementing Redux in our React application. We will do so in our next post.

So, when we listened the term Redux then in our mind these question arise.

What is Redux ?

Why we use Redux?

How to use Redux?

In this post we will discuss all these questions one by one. At first we will discuss

What is Redux?

Redux is state management

Now another questioned arise in our mind:

What is state management?

Basically in React and other React like programming language we manage our data flow with help of state. And during this process we need to maintain global state i.e props value and local state i.e simply state value.

We can update local state but if we want to update our global state i.e value of global state i.e props then in that case Redux comes in Role.

Why we use Redux?

As I already explained Redux is used for state management. We can’t understand importance of Redux in smaller application.But in larger application it plays an important role. Where state management become more complex task.

How to use Redux?

Before using Redux we need to understand it’s terminology like

Store:
  • Also called state tree
  • Holds the whole state of your applications
Reducer:
  • Also called Reducing function.
  • It accepts an accumulation value and returns a new value.
  • Reducer is basically used for reduce a collection of values down to a single value.

Note: Don’t call API calls into Reducers

Action
  • An action is plain Object that represents an intention to change the state.
  • Actions are the only way to get data into store
  • Actions must have a type field which indicates the type of action being performed.
Subscribe
  • It will be called anytime an action is dispatched, and some of state tree may potentially changed.
Dispatch
  • Dispatch is function of Redux store.
  • You can all store.dispatch to dispatch an action.

Now we are going to implement above Redux terminology in practical way. in this example we are not implementing Redux in any react application. But also we go through a simple node script.

So for that purpose at first we have to install Redux package in our application.


// install package
npm install --save redux

After that we will follow these steps :

Step 1: create a react_basic.js file
Step 2: Import redux package in your application


// Declare package
const redux= require('redux');

Step 3: Create a store


// create store
const redux= require('redux');
const createStore = redux.createStore;
//store
const store = createStore(rootReducer);

Note: We can’t get any thing without declaring reducer function
Step 4: Declare Reducer function


//Declare redux
const redux  = require('redux');
const createStore = redux.createStore;

// create reducer

const rootReducer =(state,action)=>{
    return state;

}

//store
const store = createStore(rootReducer);

console.log(store.getState())

OutPut:

redux store

Note: Here we are getting undefined value because we have not initialised state yet. So at first we will initialised our initial state as shown below.


//Declare redux
const redux  = require('redux');
const createStore = redux.createStore;


//initial state value
const initialState = {
    counter: 0
}


// create reducer

const rootReducer =(state=initialState,action)=>{
    return state;

}

//store
const store = createStore(rootReducer);

console.log(store.getState())

OutPut:

Step 5: Now dispatch our action


//Declare redux
const redux  = require('redux');
const createStore = redux.createStore;


//initial state value
const initialState = {
    counter: 0
}


// create reducer

const rootReducer =(state=initialState,action)=>{
    return state;

}

//store
const store = createStore(rootReducer);

console.log(store.getState())
// Dispatch an action 
store.dispatch({type:'ADD_COUNTER',value:15});

console.log(store.getState());

OutPut:

Note: We got same value in both console and reason for that we haven’t write any logic for that. So now we will write logic for our action type

Step 7: Add logic for ADD_COUNTER action type
we will write logic inside our reducer because reducer is being return our state


//Declare redux
const redux  = require('redux');
const createStore = redux.createStore;


//initial state value
const initialState = {
    counter: 0
}


// create reducer

const rootReducer = (state = initialState, action) => {
    //ADD_COUNTER logic 
    if (action.type === 'ADD_COUNTER') {
        return {
            ...state,
            counter: state.counter + action.value
        }
    }
    return state;

}

//store
const store = createStore(rootReducer);

console.log(store.getState())
// Dispatch an action 
store.dispatch({type:'ADD_COUNTER',value:15});

console.log(store.getState());

OutPut:

Step 8: Subscribe store


//Declare redux
const redux  = require('redux');
const createStore = redux.createStore;


//initial state value
const initialState = {
    counter: 0
}


// create reducer

const rootReducer = (state = initialState, action) => {
    //ADD_COUNTER logic 
    if (action.type === 'ADD_COUNTER') {
        return {
            ...state,
            counter: state.counter + action.value
        }
    }
    return state;

}

//store
const store = createStore(rootReducer);

//subscription
store.subscribe(() => {
    console.log('[Subscription] ::', store.getState())
})
console.log(store.getState())
// Dispatch an action 
store.dispatch({type:'ADD_COUNTER',value:15});

console.log(store.getState());

OutPut:

subscribe action

Implementation of Videojs in your React application

In one of my react application I have implemented videojs for playing videos. We can do same task using video html5 tag. But Videojs provides a lot of controls like youtube that we can perform pragmatically on it.In this post and in  upcoming  few posts I will share some of the scenarios that I have implemented during my project.

In this post I am sharing simple implementation of videojs in my React application. For that purpose we will go step by step  for adding videojs in our application.

For that purpose we have to at first setup our React application that we have already done.

So, Now we will install and import videojs package in our application.So, for installing videojs we can use npm command or simply yarn command. here we are using npm command for installing videojs package.

Step 1: Installing videojs package


// Installing package
npm i video.js@7.0.3

Step 2: Create a separate class for implementing videojs in our application

Now, we will create  a class for implementing Videojs demo. So for that purpose we will add a separate .js file that we will call VideojsImplementation.js in our application inside components folder.  Above I have already shared project structure screen shot.


import React, { Component } from 'react';

class VideojsImplementation extends Component {
    constructor(props) {
        super(props);

    }

    componentWillMount() {

    }

    componentDidMount() {

    }

    render() {
        return (
      <div>

       </div>
        );
    }
}


export default VideojsImplementation;

Step 3: Importing videojs in your class


import videojs from 'video.js';

Step 4: Now we will assign value of video url inside state


 constructor(props) {
        super(props);
        this.state = {
            liveUrl: 'https://vjs.zencdn.net/v/oceans.mp4'
        }

    }

Step 5: Then we will define a function for start video stream as shown below


startVideoStream = (liveUrl) => {
        let videoState = {
            autoplay: 'muted',
            preload: 'auto',
            loop: true
        }
        let player = videojs('my-video-show', videoState, () => {
            player.src([{
                type: "video/mp4",
                src: liveUrl
            }])

        })

    }

Step 6: Now we will define video tag inside JSX code after assigning id (same id that we have used in startVideoStream function) for it.


return (
<div>
<div className="title">
<h3>Showing Video</h3>
</div>
<div id="vidoShow">
<video className="video-js vjs-16-9 vjs-default-skin" id="my-video-show" />
</div>
</div>
);

Step 7: Now for starting video we will call at time of loading page inside componetDidMount


   componentDidMount() {
        this.startVideoStream(this.state.liveUrl);

    }

Now we are ready to play a video in our application using videojs package for this we will call VideojsImplementation component in App.js file as shown below


import React from "react";
import './App.css';
import VideojsImplementation from './components/VideojsImplementation';
function App() {
  return (
  
<divclassName="App">
<VideojsImplementation/>
</div>

);
}

export default App;

Now we will load our page and our video will be started playing

Hence our complete code will be look like this


import React, { Component } from 'react';
import videojs from 'video.js';
class VideojsImplementation extends Component {
    constructor(props) {
        super(props);
        this.state = {
            liveUrl: 'https://vjs.zencdn.net/v/oceans.mp4'
        }

    }
    componentDidMount() {
        this.startVideoStream(this.state.liveUrl);

    }

    startVideoStream = (liveUrl) => {
        let videoState = {
            autoplay: 'muted',
            preload: 'auto',
            loop: true
        }
        let player = videojs('my-video-show', videoState, () => {
            player.src([{
                type: "video/mp4",
                src: liveUrl
            }])

        })

    }

    render() {
        return (
<div>
<div className="title">
<h3>Showing Video</h3>
</div>
<div id="vidoShow">
<video className="video-js vjs-16-9 vjs-default-skin" id="my-video-show" />
</div>
</div>
);
    }
}


export default VideojsImplementation;