How to encrypt and decrypt Data using node.js

Encryption and Decryption are basically used for security purposes. We convert our actual data in some other form using some algorithms sha, RSA, etc during encryption. Vice versa we convert our encrypted data into actual forum during decryption.

In Node.js for Encryption and Decryption, we use crypto
package.

During Encryption and, Decryption we use security keys to make our encryption more strong.

For Encryption and, Decryption, we also used term encoding and decoding. During encryption, we encode our data and during decryption, we decode our data. 

Now we will write code for encrypting our data then after we will write code for decrypting our data.

But before that at first, we will declare our security keys that we are using for encryption and decryption.


// Declare package
var crypto = require('crypto');
// Declareing secret_key
let secret_key = 'encrypton_decryption';
// Declare secret_iv
let secret_iv = 'encrypton_decryption_iv';
// Declare encryption method
let encrypt_method = "AES-256-CBC";

Then after we will write code for encrypting our data as shown below.


const encryptData = async function (data) {
  let key = crypto.createHash('sha256').update(secret_key).digest('hex').substr(0, 32);
  let iv = crypto.createHash('sha256').update(secret_iv).digest('hex').substr(0, 16);
  let cipher = crypto.createCipheriv(encrypt_method, key, iv);
  let encrypted = cipher.update(data, 'utf8', 'base64');
  encrypted += cipher.final('base64');
  return Buffer.from(Buffer.from(encrypted).toString('utf8')).toString('base64');
}

For calling this function we write these lines of code


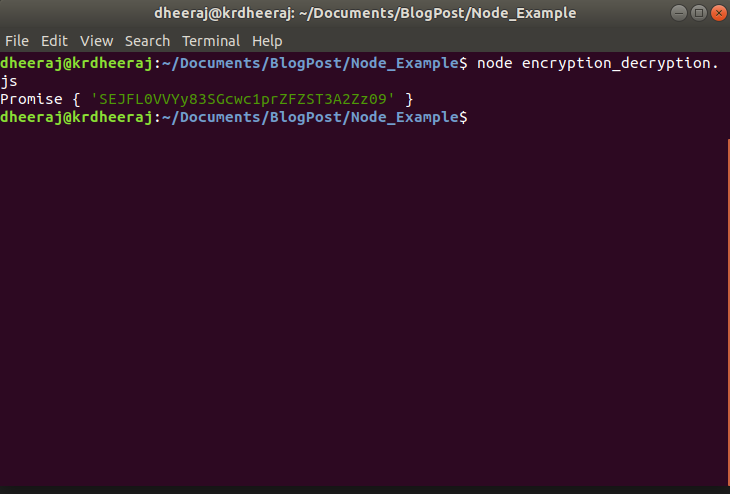
let hw = encryptData("hello");
console.log(hw);

OutPut:
encrypt data
Now for decryption of our data, we will write these lines of code


const decryptData = async function (data) {
  let key = crypto.createHash('sha256', secret_key).update(secret_key).digest('hex').substr(0, 32);
  let iv = crypto.createHash('sha256', secret_key).update(secret_iv).digest('hex').substr(0, 16);
  var decipher = crypto.createDecipheriv(encrypt_method, key, iv);
  var dec = decipher.update(Buffer.from(data, 'base64').toString('ascii'), 'base64', 'utf8');
  dec += decipher.final('utf8');
  return Buffer.from(dec).toString('utf8');
}

And during calling decryptData function we will pass encrypted data that has been obtained from encryptData function as shown below


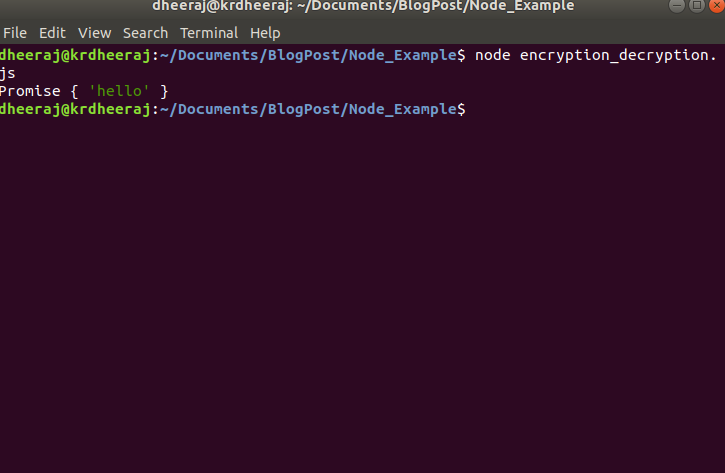
let decryphw = decryptData('SEJFL0VVYy83SGcwc1prZFZST3A2Zz09');
console.log(decryphw);

OutPut:

How to use Sequelize in Node.js

Sequelize is a promise-based Node.js ORM for Postgres, MySQL, MariaDB, SQLite, and Microsoft SQL Server. Its features are solid transaction support, relations, eager and lazy loading, read replication, and many more.

Here we explaining an example of a Database connection with MySQL using Squeeze.

Features of Sequelize:

  • Sequelize is a third-party package to be precise its an Object-Relational Mapping Library(ORM).
  • Standardization ORMs usually have a single schema definition in the code. This makes it very clear what the schema is, and very simple to change it.
  • No need to learn SQL – Queries are written in plain JavaScript. So there is no need to learn SOL.

Setting up a Node.js app:

Start Node.js app using the following command:


// initialise npm
npm init

Installation of Required packages:

Sequelize needs the MySql module installed in your project. if you have not installed MySql module then make sure before installing Sequelize you need to install MySql2 module. You need to install this module by using the following command.


// install mysql2
npm install mysql2

After installing the MySql2 module, we have to install Sequelize module to install this module by using the following command.


// install sequelize
npm install sequelize

Requiring module:

For including sequelize in our application we have to add these few lines


// include sequelize
const sequelize = require('sequelize');

For this application, we are creating two files

index.js

databaseConnection.js

databaseConnection.js : explain data onnection using sequelize


//include sequelize
const sequelize = require('sequelize');
// create new object for Database connection
const Sequelize = new sequelize(
    'sequelize_database_db',
    'root',
    'root',
    { 
        host: "localhost",
        dialect: "mysql"
    })

// export module

module.exports = Sequelize;

index.js : calling database connection script and run application


// import database connection module 
const Sequelize = require('./databaseConnection');
// sequelize db Connection ...
Sequelize
    .authenticate()
    .then(() => {
        console.log('Connection has been established successfully.');
    })
    .catch(err => {
        console.error('Unable to connect to the database:', err);
    });

Run application : Open terminal and run command


// Run app 
node index.js

OutPut:
sequelize dbconnection

you can download project from here.

download from git

Integrate Jitsi with Angular Application

During this post, we are going to describe how to integrate Jitsi with Angular Application. But before that, we take a quick introduction to Jitsi.

Jitsi is a collection of Open Source projects which provide state-of-the-art video conferencing capabilities that are secure, easy to use, and easy to self-host.

Create an Angular application: As we know that for creating an angular application we have to execute the command after installing angular cli.


#create Demo Project
ng new meetdemo

After the execution of this command, our angular application has been built now. We can be able to run our application using 


#Run Project
ng serve

Now we are creating a separate component for integrating Jitsi with the angular application.

So for generating a separate component we will use


#generate a meet component
ng new generate meet

After executing our command a new component has been generated in our application. 

Now, We have to integrate our application into the angular application. For that purpose, we have to follow these few steps:

Step 1: Add Jitsi library

To embed Jitsi Meet in our application we need to add the Jitsi Meet API library:

We can

Self-hosted:


#self-hosted libary which is hosted on your own server
<script src='https://<your-domain>/external_api.js'></script>

meet.jit.si:


#meet.jit.si hosted by jitsi
<script src='https://meet.jit.si/external_api.js'></script>